
A great effect is possible with ghost mannequins because you can show off both the front and interior of a garment. In this blog, we will show how to use Photoshop to make ghost mannequins.
Get the best photograph to work on
Creating ghost mannequins will be easier if the source material is good. Shoot the items on a symmetrical mannequin with arms pointing down. You should keep the backdrops neutral and plain. The clothing items should be ironed before being photographed.
Step-by-step guide to making ghost mannequins
Photos are merged to create ghost mannequins. To enable this, the photos of the garment must be clicked from various angles.
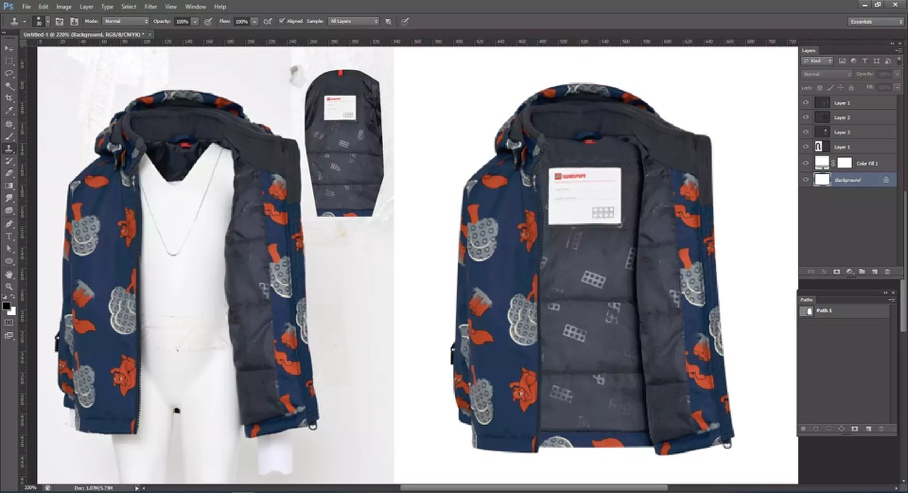
Step 1
In the first step, you have to create layers. You have to create a Background layer and a Front layer. Create a black Background so that you can see your selection accurately. The Background colour will be changed later on.
Step 2
In the second step, use the Select Subject option in Magic Wand tool to work with the selection. In order to refine the selection, you can paint along the edge of the selection using the Refine Edge Brush tool or Brush tool on the left-hand side of the Preview Window.
Step 3
Select the Quick Selection tool, then choose to Subtract from the options bar at the top of the Preview Window. Select the areas of the mannequin that are still showing by clicking on them in the Preview Window.
Step 4
In the Front layer, mask out the subject’s background by clicking on the mask icon at the bottom of the Layers Panel. By choosing the Eraser tool from Toolbar, make sure the background color is set to white and background color is set to black.
Step 5
In this step, you can start working on the other image that shows the interior of the clothing. Using the Rectangular Marquee tool, select an area. Use CTRL + T command to rotate the layer so that the back of the neck lines up with the front of the neck and shoulders.
Step 6
You would want the portions of the clothing to be filled up. For this, the Warp transform tool can perform the trick. Select the layer you want to warp. Pull up the center of the portion with the Warp anchors to form a curve. Repeat the process for the other parts of the garment.
Step 7
You need to add drop shadows to finalize the illusion that this photo was taken on an invisible mannequin. Curve adjustments will have to be made. If you need to darken the interior areas further, you can use the Burn tool from the Toolbar.
Step 8
In the last step, you can go to the Background layer and change its colour to white or whatever other colours you prefer. However, since you chose the background colour to be black, it will adjust with all shades of ghost mannequins. A photo studio can create a ghost mannequin at a very reasonable cost.

