
Showing the models in a mask is very important these days as it portrays a brand as socially conscious. It is a no-brainer that brands are choosing to place a mask on the faces of the models. This can be done by modifying the existing images digitally. In this blog, we will demonstrate how to put a mask on a face using Photoshop.
Take a mask’s shot
Adding a real-looking face mask to the photo will require a high-quality image. It should be shot head-on and photographed as it appears on a face in reality. You can use a mannequin to shoot your own face mask photo.
Cut out the face mask
You need to select the Pen Tool from the Toolbar. Draw a path around the face mask using the Pen Tool. Close the path after you have created a path around the perimeter of the face mask. You can rename the path here too. Click on the Selection icon at the bottom of the panel to create a selection of the face mask. By typing CTRL+C copy the face mask selection or choose Edit>Copy from the menu at the top of the application window.
Open the image that you want to add the face mask to. Paste the face mask into the image by typing CTRL+V (COMMAND+V on a Mac) or by selecting Edit > Paste from the drop-down menu at the top of the application window.
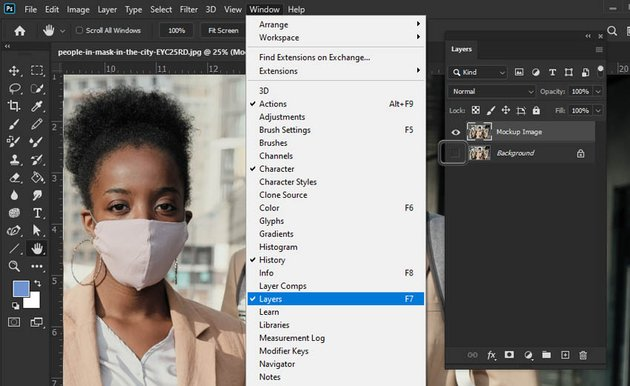
Adjusting the mask on the face of the model
Before adjusting the mask on the face of the model, make sure it’s large enough to cover the model’s face. Enlarging the mask will make it look blurry or pixelated and ruin your realistic effect. Once the face mask is placed in the photo, the layer containing the face mask should be selected. Using the Move tool, the mask can be positioned over the model’s face.
Adding straps to the face mask
For adding straps create a new layer by typing SHIFT+CTRL+N or by choosing Layer>New> Layer from the drop-down menu at the top of the application window. The new layer can be named ‘Straps’. Use the Brush tool to carefully draw any edges of the mask’s straps that would be visible on the model.
Move the Straps layer to just underneath the Face Mask layer, if you want the straps to appear from behind the mask. By using the Eraser Tool you refine the areas where the mask meets the model’s ears or hair.
Shading to the mask
Adding realistic shading is the last step for placing a mask on a model’s face. This can be done using Color Balance window. Choose Image > Adjustments > Color Balance from the drop-down menu at the top of the application window. Adjust the sliders for shadows, mid-tones and highlights so that the colour of the mask is the right match for the colour of your model photo.

