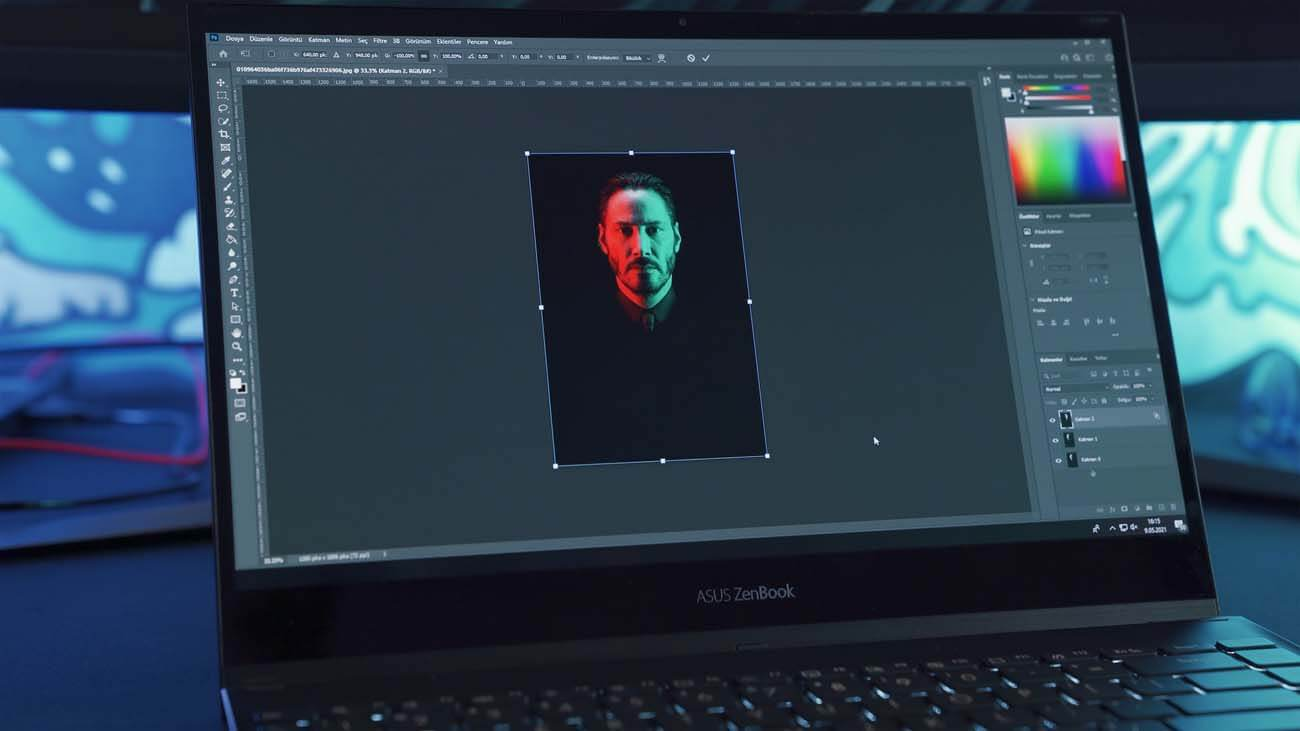
Clipping Path is a tool that allows you to remove a product from its background when other methods do not work. This method is useful when the product you want to remove has a complex or multi-colored background. We are now going to present a comprehensive guide on how to create a Clipping Path in Photoshop.
Kick start the process
The first thing you need to create a Clipping Path is a Pen Tool. Photoshop’s Pen Tool is similar to the Pen Tool in Adobe Illustrator. You will have to ensure that your settings are correct before creating a clipping path. The Pen Tool can be found in Toolbar; if you cannot locate the Pen Tool, type ‘P’ to automatically select it.
Drawing a path around your shape
Drawing a path around your shape is quite straightforward. Start by clicking with your mouse once along the edge of the image you want to clip. After this, you should click again to place the next point but don’t release the mouse button. Let the mouse create a curved path along the edge of your object.
A curved path needs to be created by pulling the mouse along the edge of your object. Release the mouse button once you have achieved the shape of the curve.
Bring the Pen Tool to the starting point until you see a circle appear right next to it. This is an indication that you are about to close the Path. Close the path by clicking on your first point. A Direct Selection Tool allows you to modify or tweak the Path by adjusting any of the points you have placed.
Saving the Work Path
It is quite important to save the Path you have just created. To save the Path, go to the Paths panel in Photoshop 2021. You can select Paths from the Windows menu to bring up the Paths panel. Click on the Work Path you have just created. There would be an option of Save Path in the panel’s menu. Choose that option by clicking on it. It is a good practice to give your Path a name so that you know the object you have outlined later on.
Creating a Clipping Path
By choosing the option of Clipping Path in the Path menu, you can create a Clipping Path. A Clipping Path can be created around a product photo without damaging your original image. Then you need to save your image in a PSD file format and place that image into InDesign or Illustrator.
Making a Clipping Mask
You are supposed to go back into your layers panel. Click on the Add Layer Mask icon. This creates a layer mask that isolates your product image from its background. You can separate the product image non-destructively by using a mask.
If you don’t have enough time or patience to handle the Clipping Paths yourself, you can outsource your work to a photo-editing services company.


