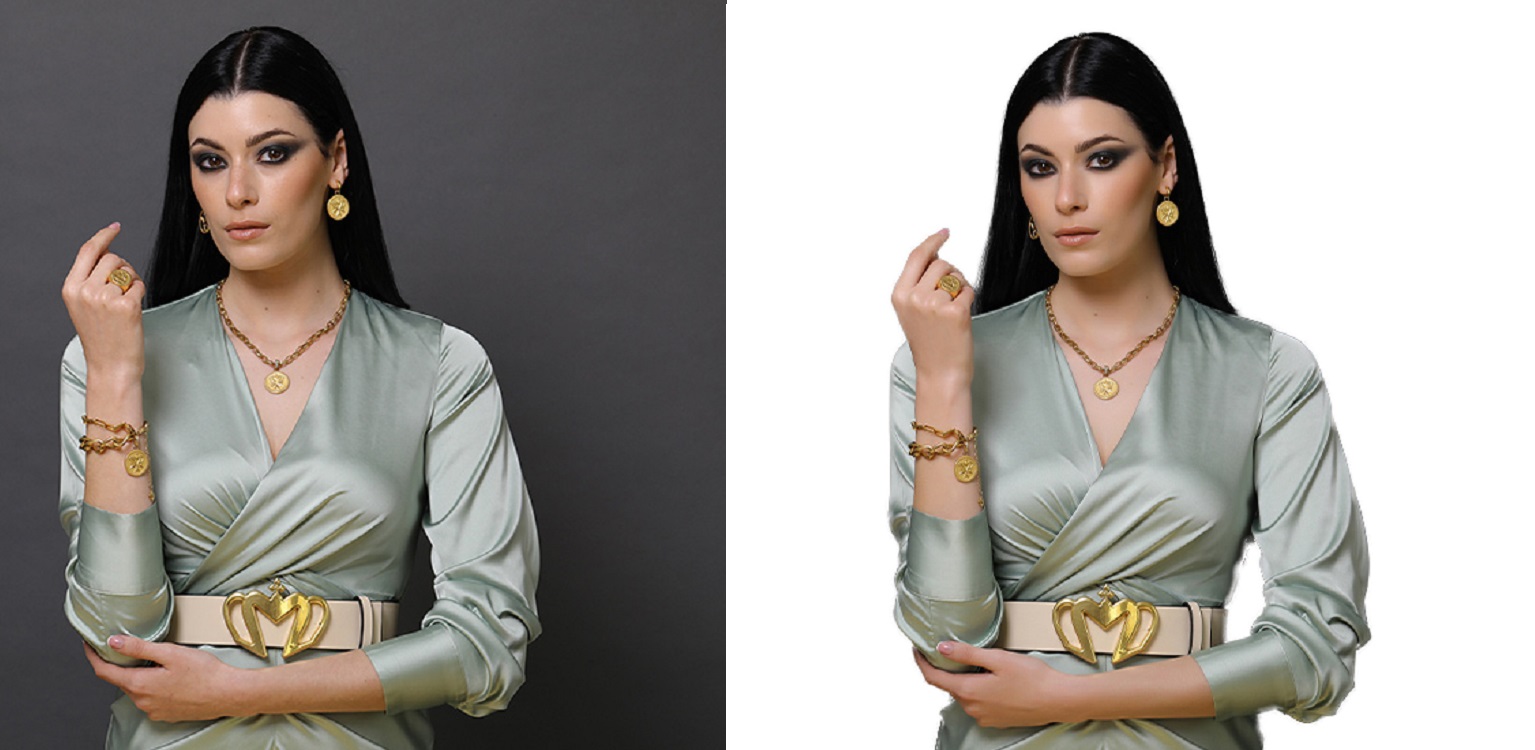
To make the experience of the shopper better, you can add a reflection to the photo. That will make the product photos lifelike. It can give an illusion that your product is sitting in a clear pool of water. This blog will discuss the ways you can add a glass reflection and a water reflection with the help of Photoshop.
- Adding a glass reflection
- Step 1
The first step in adding a glass reflection is to enlarge your canvas. This can be done with the option of canvas size from the drop down menu at the top of the application window.
- Step 2
In the second step, you need to select the subject with the help of Magic Wand tool located in the toolbar on the left-hand side of the application window.
- Step 3
Isolate the product in a new layer. Create a duplicate layer with the help of Layers option from the dropdown menu. The lowest layer should be named ‘Original’. The new layer should be named ‘Reflection’.
- Step 4
Flip the reflection layer using the option of Flip Vertical. Keep the Reflection selected and move the flipped product image down to rest just under the product image using the Move tool in the toolbar.
- Step 5
Add a layer of mask with help of mask icon at the bottom of layers panel. Set your background color to black and your foreground color to white. Draw a straight line through your image to the bottom of your reflection.
- Adding a water reflection
- Step 1
Here also you need to create layers. In this, however, you should keep the foreground colour dark, watery blue. The canvas size should be adjusted so that the image is double in height.
- Step 2
Like we did while making the glass reflection, a new layer Reflection needs to be created and then flipped with the help of Flip Vertical option. Then, you need to add a layer mask to the Reflection layer and paint a black-to-white gradient.
- Step 3
In this step, water texture is created. A new layer is created and it is moved to the top of the layers panel. The Filter option is used to add Noise to the layer. A blur effect is used to give an impression of water ripples.
- Step 4
With the help of Distort option in Edit from the dropdown menu, grab the top of the layer. Pull it down until it lines up with the top of the reflection layer.
- Step 5
In this step, you create a displacement map. Select the layers and then save it as Displacement_Map with .PSD extension in a place you can easily find again.
- Step 6
In this step, we will be able to add the ripple effect applied to the reflection. Choose the option of Displacement from the dropdown menu. A browse window will pop up on your screen. You need to choose the image you just saved as your displacement map and click Open.
- Step 7
In this step we add depth to the water by adjusting the opacity of the layer until you are satisfied with the results.


